i decided to put new bars on the bike. the stock ones were okay, but i felt i was reaching a little too far forward. i wanted something that pulled back a bit more, something that put more bend in my elbow.
for the longest time, i couldn't decided what i wanted. wide beach bars, mini-apes, there are just too many to choose from. i knew i didn't want to purchase and try a bunch of bars just figuring out which one was right.
some harley dealerships are putting in rigs where you can try before you buy. the rigs basically hold a seat, handlebars and have three peg positions. the idea is you put on the seat, bars, pegs, grips, whatever on the rigs, sit on it and get a feel for whatever you're looking to buy. i tried it out one time, but i just don't get the feeling it would be the same on the bike...
along the way, i ran into a guy - figuratively, not literally - who had the
reduced reach handlebars for a road king... they were comfortable and seemed to give me the reach i was looking for. i checked out the reduced reach handlebars more and it appeared they were fairly straight-forward to install - using the stock cables and only needing a wiring extension. i decided those were the ones...
i got the bars and the wiring extension. next up was to enlist the help of my father-in-law and plan a day (or two or three) to get the job done. we started on a friday - i figured that gave us a solid three days without me having to worry about work getting in the way.
a view of the bars before we got started. this way, if we screwed up, at least i would know what it
used to look like...
.JPG)
.JPG)
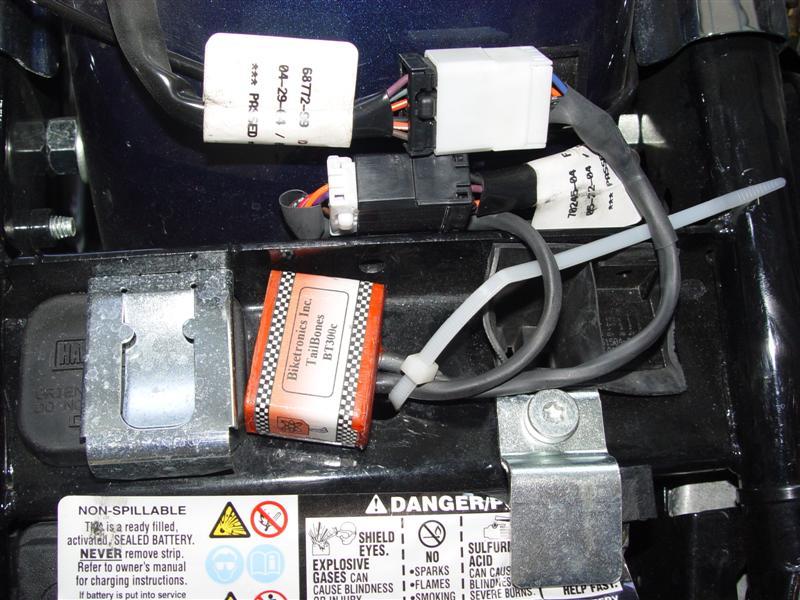
we removed the seat, disconnected the battery and covered the bike. i knew if i didn't cover the bike, i would drop some sharp, heavy something on the bike and screw up the paint/metal.
i didn't need a repeat of last year....JPG)
.JPG)
we removed the headlight assembly...
.JPG)
a close up of the wiring in the nacelle...
.JPG)
we removed the nacelle - starting with the decorative strip...
.JPG)
.JPG)
we removed the fork lock cover - which is done by simply prying up on the lock cover...
.JPG)
a view with the nacelle removed, the turn signal/running light assembly carefully placed on the front fender...
.JPG)
we marked each of the wiring connections before disconnecting them - nothing like hooking them up backwards or something...
.JPG)
we removed the switch housing and wiring from the handlebars...
.JPG)
before removing the switch housings, we blocked the front brake lever to keep pressure on the calipers - hoping to reduce the possibility of having to bleed the brakes...
.JPG)
a final view of the naked handlebars before being removed...
.JPG)
ready for the new bars...
.JPG)
we removed the wiring connectors from the wires and fed the wires through the new handlebars...
.JPG)
left switch housing in place. after messing with this for a while, we decided to run the gps wire through the extra hole instead of trying to stuff it in with all the other switch wires...
.JPG)
we mounted the new bars...
.JPG)
a view of the wires coming out of the bars with the new wiring extensions in place...
.JPG)
it was a close fit, but there was just enough length on the stock wirings to allow the new extensions to be put on...
.JPG)
we connected the turn signal/running light harnesses to the new wiring extensions...
.JPG)
new bars coming together nicely...
.JPG)
testing out the positioning of the new bars...
.JPG)
new bars in place and ready to ride...
.JPG)
.JPG)
.JPG)
first test ride with the new bars was great. not only was the reach in a much better position, i felt as if i have a lot more control over the bike. and i like that for the slow, tight turns...
it turned out this job was a lot easier than i anticipated. of course i'd rather prepare for a tough job and find it easy than the other way around. we took our time with the job. and even taking our time, we easily finished in about half a day. it's certainly a job i would do again without hesitation... of course i have to send many thanks to father-in-law for the confidence and the help...


.JPG)
.JPG)
.JPG)
.JPG)
.JPG)
.JPG)
.JPG)
.JPG)
.JPG)
.JPG)
.JPG)
.JPG)
.JPG)
.JPG)
.JPG)
.JPG)
.JPG)
.JPG)
.JPG)
.JPG)
.JPG)
.JPG)
.JPG)
.JPG)
.JPG)
.JPG)